Discover the time-honored Southern tradition of putting up preserves, pickles, and jams. Learn safe canning practices and recipes that capture summer's bounty for year-round enjoyment.
Share This Recipe
The Art of Putting Up: A Southern Tradition
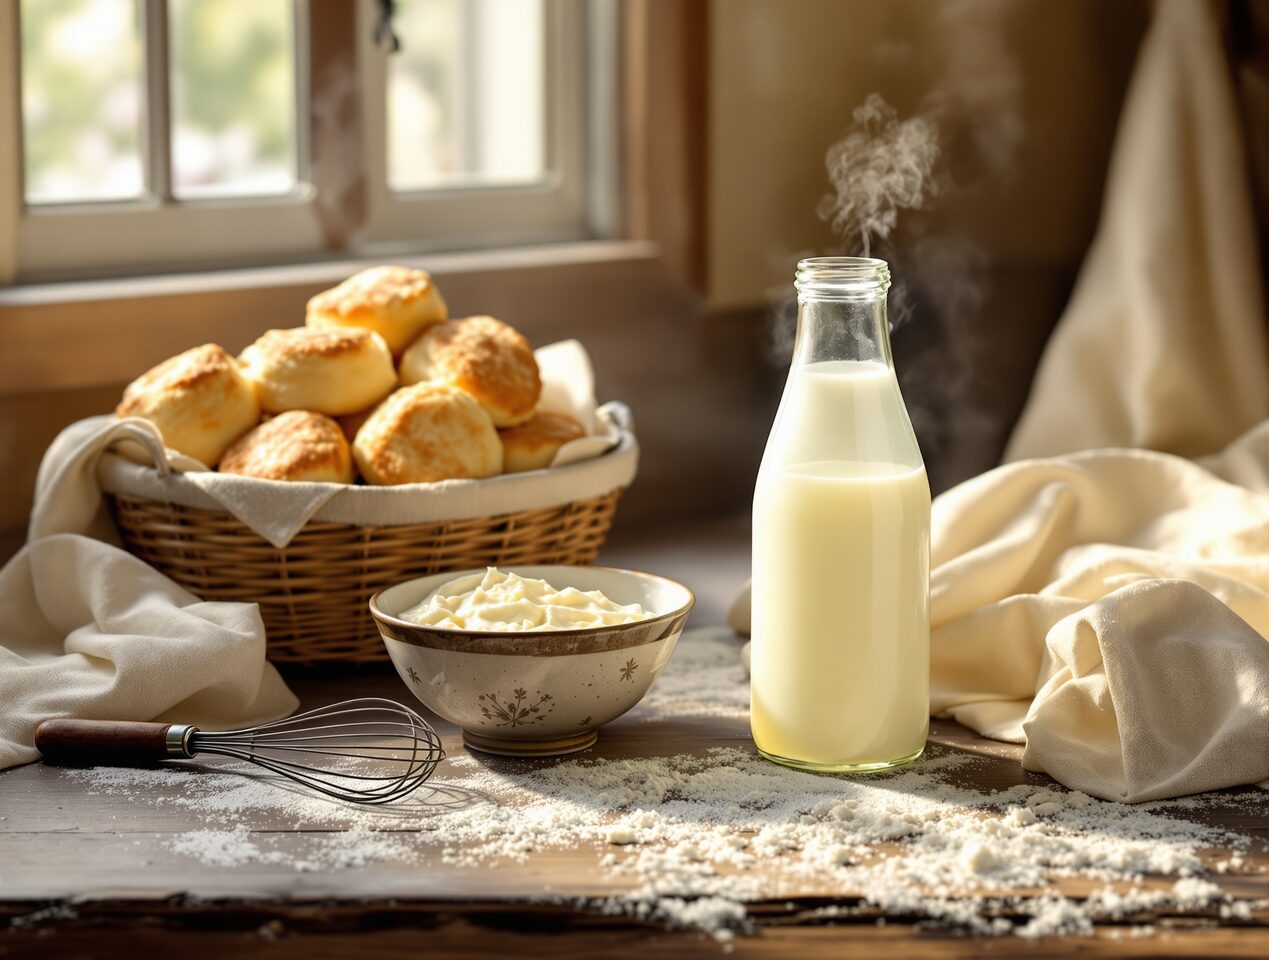
There's something deeply satisfying about a pantry lined with jars of homemade preserves, pickles, and canned vegetables. Each jar represents hours of work, the peak of summer's bounty captured and preserved for the months ahead. In the South, "putting up" food isn't just about preservation—it's about connection to the land, respect for the seasons, and carrying on traditions that have sustained families for generations.
I grew up watching my grandmother spend long summer days in the kitchen, transforming bushels of tomatoes, cucumbers, and peaches into jewel-toned jars that would line her pantry shelves. The kitchen would be steaming hot, but she never complained. This was important work, and she took pride in every jar.
Today, home canning is experiencing a renaissance. People are rediscovering the satisfaction of preserving their own food, knowing exactly what goes into each jar, and enjoying flavors that simply can't be bought in stores.
Understanding the Basics: Water Bath vs. Pressure Canning
Before you start canning, it's crucial to understand the two methods and when to use each one.
Water Bath Canning
Water bath canning is used for high-acid foods (pH of 4.6 or lower). This includes:
The process is simple: filled jars are submerged in boiling water for a specified time. The high acid content prevents the growth of dangerous bacteria, including botulism.
You'll need:
Pressure Canning
Pressure canning is required for low-acid foods (pH above 4.6). This includes:
These foods must be processed at temperatures higher than boiling water can achieve (240°F), which requires a pressure canner. This is non-negotiable—water bath canning low-acid foods is dangerous and can lead to botulism poisoning.
A pressure canner is a significant investment, but if you plan to can vegetables or meats, it's essential. Don't confuse a pressure canner with a pressure cooker—they're not the same thing.
Safety First: The Rules You Must Follow
Canning safety isn't optional. Botulism is a serious, potentially fatal illness, and improper canning is one of the main causes. Follow these rules without exception:
Use tested recipes from reliable sources. The USDA, National Center for Home Food Preservation, and Ball/Kerr canning guides are your best resources. Don't use old recipes from the internet or family recipes that haven't been tested for safety.
Don't alter recipes. Changing the ratio of ingredients can affect the acidity level and safety of the final product. Follow recipes exactly.
Use proper jars and new lids. Mason jars designed for canning can be reused indefinitely, but lids (the flat part with the sealing compound) must be new each time. Bands can be reused.
Process for the full recommended time. Don't cut corners. Processing times are calculated to ensure safety.
Adjust for altitude. If you live above 1,000 feet, you'll need to adjust processing times or pressure. Check USDA guidelines for your altitude.
Inspect jars before eating. Before opening a jar, check that the lid is still sealed (it should be concave and not flex when pressed). Look for signs of spoilage: cloudiness, bubbles, mold, or off odors. When in doubt, throw it out.
Classic Southern Preserving Recipes
Bread and Butter Pickles
These sweet and tangy pickles are a Southern staple. Thin-sliced cucumbers and onions are brined, then packed in jars with a spiced vinegar syrup. They're perfect on sandwiches, alongside barbecue, or eaten straight from the jar.
The key is using fresh, firm cucumbers (pickling cucumbers are best) and not skipping the brining step, which helps keep the pickles crisp.
Dilly Beans
Pickled green beans are a revelation if you've never tried them. Whole green beans are packed into jars with garlic, dill, and hot peppers, then covered with a vinegar brine. They're crunchy, tangy, and addictively good.
These make excellent gifts and are always a hit at parties served alongside cheese and crackers.
Strawberry Preserves
Southern strawberry preserves are thick, intensely flavored, and studded with whole or halved berries. Unlike jam (which is smooth), preserves maintain the fruit's texture.
The secret to great preserves is using perfectly ripe, flavorful berries and not overcooking them. You want the berries to hold their shape and the syrup to be thick but not gummy.
Peach Preserves
When Southern peaches are at their peak, it's time to make preserves. The process is similar to strawberry preserves, but peaches require peeling (blanch them in boiling water for 30 seconds, then plunge into ice water—the skins will slip right off).
Peach preserves on a hot biscuit with butter is one of life's great pleasures.
Chow-Chow
This tangy, slightly sweet relish is made from a mixture of vegetables (typically cabbage, green tomatoes, peppers, and onions) pickled in a spiced vinegar brine. Every Southern family has their own chow-chow recipe, and debates about the "right" way to make it can get heated.
Chow-chow is traditionally served with beans, greens, and cornbread, but it's also excellent on hot dogs and burgers.
Tomato Sauce
Canning tomato sauce lets you enjoy summer tomatoes year-round. The key is using meaty paste tomatoes (like Roma or San Marzano) and adding bottled lemon juice or citric acid to ensure the acidity is high enough for safe water bath canning.
You can make plain tomato sauce or add herbs, garlic, and onions for a seasoned sauce ready to use in pasta dishes, soups, and stews.
Pepper Jelly
Sweet and spicy pepper jelly is a Southern favorite, served over cream cheese with crackers as an appetizer. It's made with bell peppers and hot peppers (jalapeños are traditional), sugar, vinegar, and pectin.
The beautiful color—usually red or green—makes it a popular gift during the holidays.
The Seasonal Preservation Calendar
Successful preserving means working with the seasons and preserving foods at their peak.
Spring (March-May)
Summer (June-August)
Fall (September-November)
Winter (December-February)
Essential Equipment for Home Canning
You don't need a lot of fancy equipment to start canning, but a few key tools make the process safer and easier:
Canning jars - Mason jars in various sizes (half-pint, pint, quart)
New lids and reusable bands - Buy quality lids; cheap ones don't seal reliably
Water bath canner or large pot - Must be deep enough to cover jars by 1-2 inches
Jar lifter - Essential for safely removing hot jars from boiling water
Canning funnel - Makes filling jars much easier and cleaner
Bubble remover/headspace tool - Removes air bubbles and measures headspace
Kitchen timer - Accurate timing is crucial for safety
Clean towels - For wiping jar rims and setting hot jars to cool
Tips for Canning Success
Start with high-quality produce. Canning can't improve poor-quality ingredients. Use fresh, ripe (but not overripe) fruits and vegetables.
Prep your workspace. Canning involves a lot of steps and hot jars. Clear plenty of counter space and have all your equipment ready before you start.
Work in batches. Don't try to can 50 pounds of tomatoes in one day. It's exhausting and increases the chance of mistakes. Break large projects into manageable batches.
Label everything. Include the contents and date. You think you'll remember, but you won't.
Store properly. Canned goods should be stored in a cool, dark, dry place. Remove the bands before storing (they can rust and make jars difficult to open).
Use within a year. While properly canned food is safe indefinitely, quality deteriorates over time. Use your canned goods within a year for best flavor and texture.
Troubleshooting Common Canning Problems
Jars didn't seal - This can happen if jar rims weren't clean, lids were damaged, or jars weren't processed long enough. Refrigerate and use within a week, or reprocess with new lids within 24 hours.
Liquid loss during processing - Some liquid loss is normal and doesn't affect safety as long as the jar sealed. Causes include not leaving enough headspace, air bubbles in the jar, or fluctuating pressure in pressure canning.
Floating fruit - Fruit floats when there's too much air in the tissue or the syrup is too heavy. It's safe to eat but not as attractive. To minimize floating, use ripe (not overripe) fruit and pack jars firmly.
Cloudy liquid - In pickles, this can indicate spoilage (don't eat). In other canned goods, it might just be minerals from hard water or starch from vegetables (safe to eat if the jar sealed properly).
The Joy of Sharing Your Harvest
One of the best parts of canning is sharing your creations. A jar of homemade preserves or pickles makes a thoughtful, personal gift that shows you care. I keep a stash of pretty jars specifically for gift-giving, and I've never met anyone who wasn't delighted to receive homemade canned goods.
Canning also connects you to your community. Many areas have canning groups or classes where you can learn from experienced canners and share tips and recipes. There's something special about working alongside others, all of you transforming the season's bounty into jars of deliciousness.
Preserving More Than Food
When you can your own food, you're preserving more than just fruits and vegetables. You're preserving traditions, building skills, and creating a sense of security and self-sufficiency. You're connecting with the rhythms of the seasons and the satisfaction of providing for yourself and your family.
Every time I open a jar of tomatoes in January or spread strawberry preserves on my morning toast, I'm transported back to the summer day when I made them. I remember the weight of the tomatoes in my hands, the sweet smell of strawberries cooking, the satisfaction of seeing jars lined up on the counter, their lids popping as they sealed.
This is the magic of canning—it captures not just food, but memories, seasons, and the simple pleasure of work well done.
Ready to start your canning journey? Begin with something simple like refrigerator pickles or a small batch of jam. As you gain confidence, you can tackle more ambitious projects. Before you know it, you'll have a pantry full of beautiful jars and the satisfaction of knowing you made them yourself.
Your grandmother would be proud.
Affiliate Disclosure: As an Amazon Associate, we earn from qualifying purchases.
Never Miss a Recipe!
Join 10,000+ Southern food lovers getting our weekly newsletter with new recipes, cooking tips, and exclusive content delivered straight to your inbox.
Subscribe Now