
Master traditional Southern preservation methods with safety guidelines, essential equipment, and seasonal recipes for jams, pickles, and canned goods that last all year.
Share This Recipe
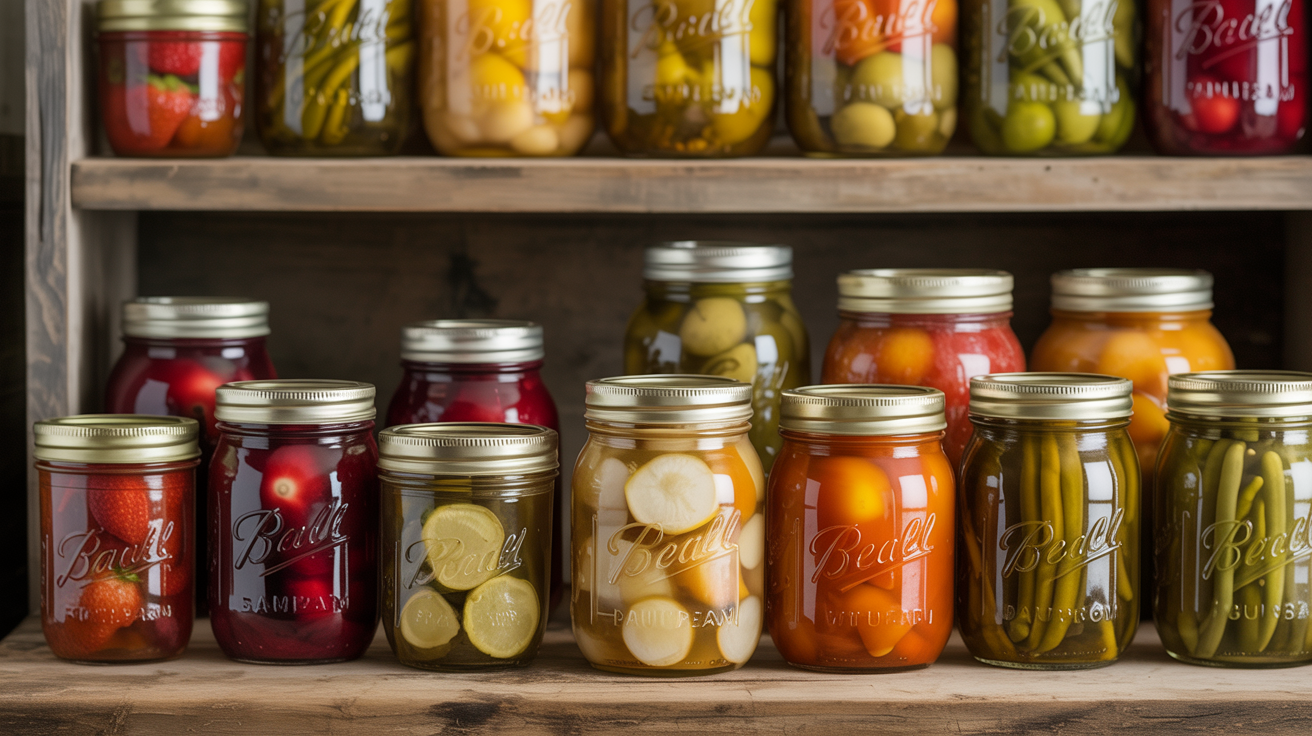
Home canning and preserving connects modern cooks to generations of Southern food preservation traditions. Before refrigeration, canning wasn't a hobby—it was survival, allowing families to enjoy summer's bounty through winter months. Today, home preserving offers superior flavor, control over ingredients, and the satisfaction of stocking your pantry with homemade goodness.
Why Preserve at Home?
Modern supermarkets offer year-round produce, so why bother preserving?
Flavor: Home-preserved foods taste significantly better than commercial versions. You control quality, sugar levels, and seasonings.
Ingredient control: No artificial preservatives, excessive sodium, or questionable additives.
Cost savings: Preserving abundant seasonal produce locks in low prices year-round.
Gift-giving: Homemade preserves make cherished gifts that showcase your effort and thoughtfulness.
Heritage: Preserving connects you to Southern food traditions and family history.
Satisfaction: There's profound satisfaction in opening a jar you put up months earlier.
Safety First: The Foundation of Preserving
Home canning is safe when you follow established guidelines. Most foodborne illness from home-canned goods results from improvisation or outdated methods.
Understanding pH: The Key to Safety
Foods divide into two categories based on acidity:
High-acid foods (pH 4.6 or lower):
These can be safely processed in a boiling water bath because their acidity prevents harmful bacteria growth.
Low-acid foods (pH above 4.6):
These require pressure canning to reach temperatures high enough (240°F) to kill dangerous bacteria like botulism.
Critical rule: Never process low-acid foods in a boiling water bath. The temperature isn't sufficient for safety.
Essential Safety Guidelines
1. Use tested recipes: Don't improvise canning recipes. Use resources from USDA, Ball, or National Center for Home Food Preservation.
2. Check jars and lids: Discard jars with chips or cracks. Use new lids (bands can be reused).
3. Process for the full time: Don't reduce processing time. Set a timer.
4. Adjust for altitude: Processing times increase at elevations above 1,000 feet.
5. Don't reuse old recipes: Grandma's canning methods may not meet modern safety standards.
6. Check seals: After cooling, press the center of each lid. It shouldn't flex. Refrigerate any jars that didn't seal.
7. Store properly: Keep jars in a cool, dark place. Use within one year for best quality.
8. When in doubt, throw it out: Discard any jars with bulging lids, leaks, foul odors, or mold.
Essential Equipment
Start with basics, then expand as you preserve more regularly.
Must-Have Equipment
Boiling water canner:
Canning jars:
New lids:
Jar lifter:
Funnel:
Bubble remover/headspace tool:
Nice-to-Have Equipment
Pressure Canner (for low-acid foods)
If you plan to can vegetables, meats, or soups, invest in a pressure canner:
Key features:
Maintenance:
Never substitute a pressure cooker for a pressure canner—pressure cookers don't reach necessary temperatures or hold sufficient jars.
Starting with Jams and Jellies
Jams and jellies are perfect for beginning canners—they're high-acid, use straightforward techniques, and produce delicious results.
Jam vs. Jelly vs. Preserves
Jam: Crushed fruit with sugar, cooked to spreading consistency. Contains fruit pieces.
Jelly: Clear, made from fruit juice. Smooth texture without fruit pieces.
Preserves: Large fruit chunks in thick syrup. Chunkier than jam.
Marmalade: Citrus preserve with peel suspended in jelly.
Basic Strawberry Jam
A Southern favorite that showcases simple jam-making:
Ingredients:
Process:
1. Crush berries (leave some texture)
2. Combine berries, sugar, and lemon juice in heavy pot
3. Bring to full rolling boil, add pectin
4. Boil 1 minute, remove from heat
5. Skim foam
6. Ladle into hot jars, leaving 1/4 inch headspace
7. Process in boiling water bath 10 minutes
Yield: About 5 half-pint jars
Pro tip: For jam without added pectin, cook longer (30-40 minutes) until mixture reaches gel stage (220°F).
Peach Preserves
When summer peaches are abundant, preserves capture that flavor for year-round enjoyment.
Ingredients:
Process:
1. Layer peaches and sugar, let stand 2 hours
2. Add lemon juice, bring to boil
3. Cook until thick (20-30 minutes), stirring frequently
4. Ladle into hot jars, 1/4 inch headspace
5. Process 10 minutes
Tips:
Mastering Pickles
Southern pickle traditions range from simple refrigerator pickles to elaborately spiced canned varieties.
Quick Refrigerator Pickles
No canning required—these crisp pickles last several weeks refrigerated:
Bread and Butter Pickles:
Combine, refrigerate overnight, enjoy for 3-4 weeks.
Classic Dill Pickles (Canned)
Ingredients per quart jar:
Brine (for 4 quarts):
Process:
1. Pack clean cucumbers in hot jars
2. Add dill, garlic, and spices
3. Heat brine to boiling
4. Pour hot brine over pickles, 1/2 inch headspace
5. Remove air bubbles
6. Process pints 10 minutes, quarts 15 minutes
Crispy pickle tips:
Pickled Okra
A Southern specialty that transforms okra into tangy, crispy spears:
Per pint jar:
Brine:
Pack okra vertically in jars, add seasonings, cover with boiling brine (1/2 inch headspace), process 10 minutes.
Canning Tomatoes: The Southern Staple
Tomatoes occupy a special place in Southern canning—they're the most commonly canned vegetable (technically a fruit) and require specific handling.
Safely Canning Tomatoes
Modern tomatoes have lower acidity than heirloom varieties, requiring added acid for safety:
Add per quart jar:
This ensures safe acidity for boiling water bath processing.
Basic Canned Tomatoes
Process:
1. Blanch tomatoes 30 seconds, plunge into ice water
2. Peel, core, quarter
3. Pack hot jars with tomatoes
4. Add lemon juice and 1 teaspoon salt per quart
5. Fill with hot tomato juice or water, 1/2 inch headspace
6. Process pints 40 minutes, quarts 45 minutes
Uses: Pizza sauce, pasta sauce, chili, soups
Tomato Sauce
For concentrated flavor, cook tomatoes down before canning:
1. Cook peeled, cored tomatoes until reduced by half
2. Season if desired (basil, garlic, oregano)
3. Ladle into hot jars, 1/2 inch headspace
4. Add lemon juice
5. Process pints 35 minutes, quarts 40 minutes
Southern Preserving Specialties
Chow Chow
This Southern relish uses end-of-summer vegetables:
Ingredients:
Combine, bring to boil, simmer 15 minutes, pack into jars, process 15 minutes.
Pepper Jelly
Sweet-hot jelly that's essential for Southern appetizers (served over cream cheese with crackers):
Ingredients:
Bring peppers, sugar, and vinegar to boil, add pectin, boil 1 minute, ladle into jars, process 10 minutes.
Seasonal Preserving Calendar
Spring:
Summer:
Fall:
Winter:
Troubleshooting Common Issues
Jars didn't seal:
Liquid loss during processing:
Cloudy pickles:
Floating fruit in jams:
Gift-Giving with Preserved Foods
Home-preserved foods make treasured gifts:
Presentation tips:
Popular gift combinations:
The Reward of Preserving
There's something deeply satisfying about a pantry lined with colorful jars—physical evidence of summer's abundance and your effort to capture it. Each jar represents connection to seasons, heritage, and the satisfaction of self-sufficiency.
Start small with simple jams or refrigerator pickles. As you gain confidence, expand to more complex preserves. Before long, you'll find yourself planning your garden around what you want to preserve, and friends will start requesting your homemade goods.
What are your favorite foods to preserve? Share your canning successes and questions in the comments!
*Want to preserve your garden harvest? Our Heirloom Tomato Guide will help you grow the perfect canning tomatoes.*
Affiliate Disclosure: As an Amazon Associate, we earn from qualifying purchases.
Never Miss a Recipe!
Join 10,000+ Southern food lovers getting our weekly newsletter with new recipes, cooking tips, and exclusive content delivered straight to your inbox.
Subscribe Now