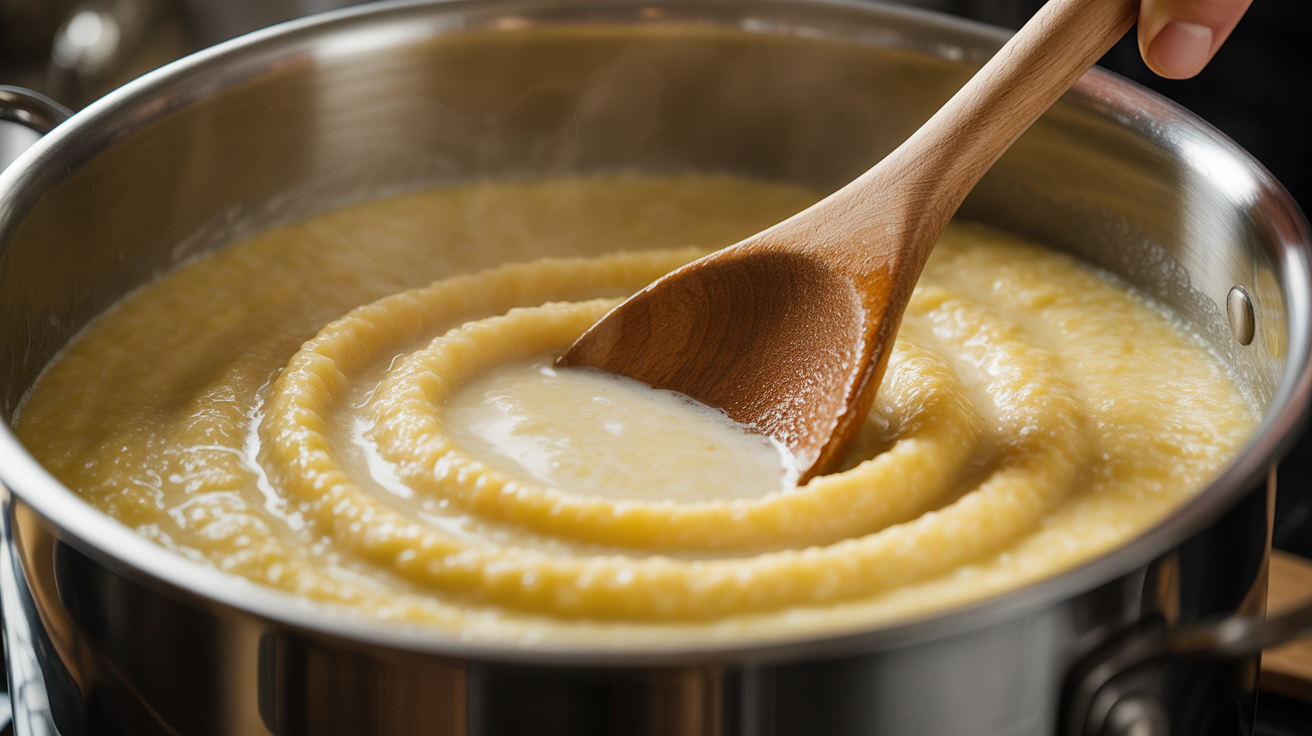
Perfectly Creamy Grits: Stirring Method
SouthernComfy Editorial Team
Cooking guides
What You'll Learn
- The correct liquid-to-grits ratio
- Why stirring technique matters
- How to prevent lumps
- When grits are truly done
Why This Matters
Grits are the ultimate Southern comfort food, but many people make them too thin, lumpy, or undercooked. Perfect grits are creamy, smooth, and rich - the technique is simple once you know it.
Equipment Needed
- Heavy-bottomed pot
- Wooden spoon or whisk
- Measuring cups
Step-by-Step Tutorial
Use the Right Ratio
For creamy grits: 4 cups liquid to 1 cup grits. Mix water and milk (half and half) for best flavor. Or use all stock for savory grits. This ratio is key to creamy texture.
Chef's Tip
Chef's Tip
Chef's Tip
Common Mistake
Bring Liquid to Boil First
Bring your liquid to a full rolling boil. Add 1 teaspoon salt and 2 tablespoons butter. Boiling liquid prevents lumps when you add grits.
Chef's Tip
Chef's Tip
Chef's Tip
Add Grits Gradually While Stirring
Reduce heat to low. Pour grits in a slow, steady stream while stirring constantly with a wooden spoon. This prevents lumps from forming. Continue stirring for 1-2 minutes.
Chef's Tip
Chef's Tip
Chef's Tip
Common Mistake
Stir Frequently During Cooking
Cover pot and simmer on low heat for 20-30 minutes. Stir every 5 minutes, scraping bottom and sides. Grits should bubble gently, not vigorously.
Chef's Tip
Chef's Tip
Chef's Tip
Common Mistake
Test for Doneness
Grits are done when they've absorbed all liquid and are creamy with no grittiness. Taste them - should be smooth and tender, not grainy. If too thick, add more liquid.
Chef's Tip
Chef's Tip
Chef's Tip
Finish with Butter and Seasoning
Remove from heat. Stir in 2-4 tablespoons butter until melted. Taste and adjust salt and pepper. For cheese grits, add 1 cup shredded cheese and stir until melted.
Chef's Tip
Chef's Tip
Chef's Tip
Pro Tips
Chef's Tip
Chef's Tip
Chef's Tip
Chef's Tip
Common Mistakes to Avoid
❌ Grits are lumpy
Causes: Added grits to cold liquid, or didn't stir while adding
Solution: Always bring liquid to boil first. Add grits gradually while stirring constantly. If lumps form, whisk vigorously.
❌ Grits are watery and thin
Causes: Too much liquid, or not cooked long enough
Solution: Use 4:1 ratio. Cook until thick and creamy. Let simmer uncovered if too thin to evaporate excess liquid.
❌ Grits taste gritty and undercooked
Causes: Not cooked long enough, or heat too high
Solution: Cook full 20-30 minutes (longer for stone-ground). Low heat is essential. Taste to confirm smooth texture.
Troubleshooting & FAQ
See It In Action
Try these recipes that use this technique: