Properly Preparing Collard Greens (No Bitterness)
SouthernComfy Editorial Team
Cooking guides
What You'll Learn
- How to clean greens thoroughly
- Proper technique to remove tough stems
- Why blanching reduces bitterness
- The traditional Southern cooking method
Why This Matters
Collard greens are a Southern staple, but improperly prepared greens can be bitter, gritty, or tough. This technique ensures tender, flavorful greens every time. The same method works for turnip greens, mustard greens, and kale.
Equipment Needed
- Large sink or bowl
- Sharp knife
- Cutting board
- Large pot
Step-by-Step Tutorial
Select Fresh Greens
Choose deep green leaves without yellowing or brown spots. Smaller, younger leaves are less bitter. Plan for 1 pound per person before cooking (they reduce significantly).
Chef's Tip
Chef's Tip
Chef's Tip
Wash Thoroughly (Three Times)
Fill sink with cold water. Submerge greens and swish vigorously. Let sit 5 minutes so dirt settles. Lift out greens (don't pour - dirt stays in sink). Repeat two more times with fresh water.
Chef's Tip
Chef's Tip
Chef's Tip
Common Mistake
Remove Tough Stems
Fold each leaf in half along the center stem. Hold stem with one hand and strip the leaf away with the other. Discard thick stems (or save for stock). Stack leaves for easier cutting.
Chef's Tip
Chef's Tip
Chef's Tip
Cut into Ribbons
Stack destemmed leaves, roll tightly like a cigar, and slice crosswise into 1-inch ribbons. This traditional cut (chiffonade) cooks evenly and is easy to eat.
Chef's Tip
Chef's Tip
Chef's Tip
Blanch to Remove Bitterness (Optional)
For very bitter greens: Bring large pot of salted water to boil. Add greens and cook 3 minutes. Drain, rinse with cold water. This step is optional but removes much of the bitterness.
Chef's Tip
Chef's Tip
Chef's Tip
Cook Low and Slow
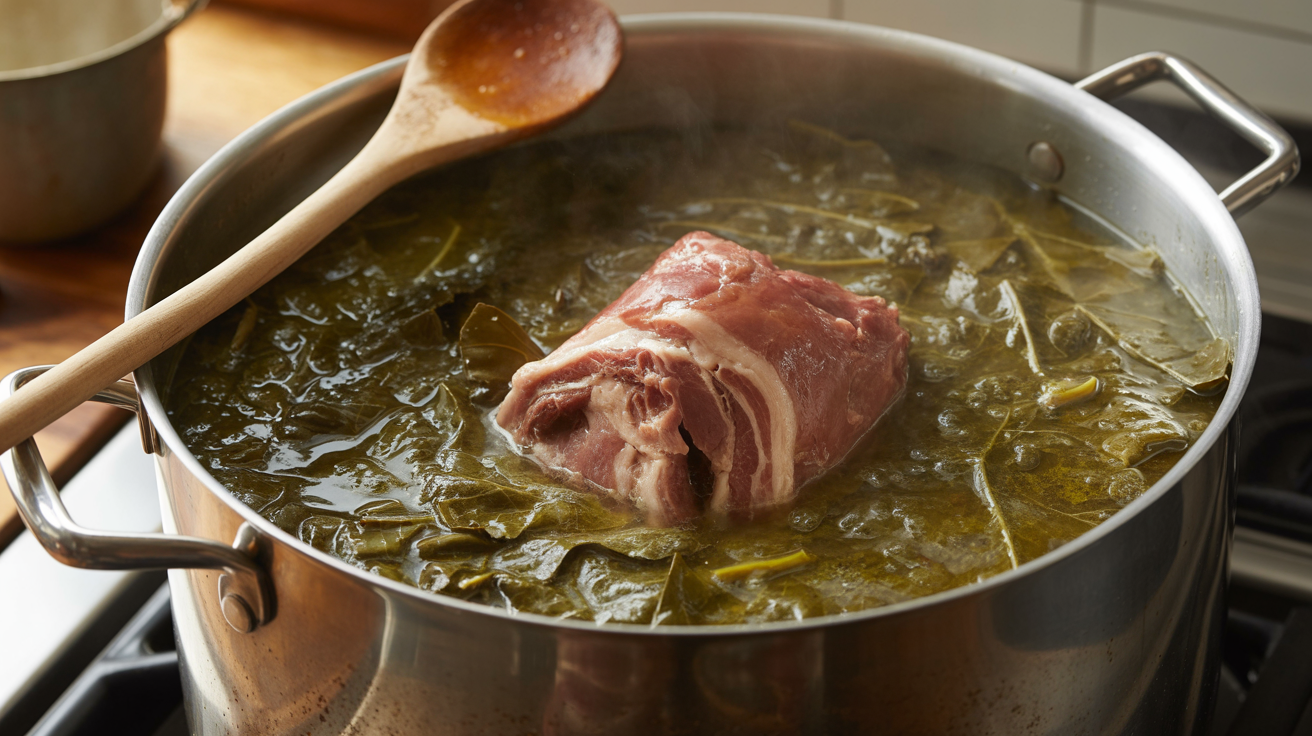
In large pot, cook onions and meat (ham hock, bacon, or smoked turkey). Add greens, stock, and seasonings. Simmer 45 minutes to 2 hours until tender. Longer cooking develops flavor.
Chef's Tip
Chef's Tip
Chef's Tip
Pro Tips
Chef's Tip
Chef's Tip
Chef's Tip
Chef's Tip
Common Mistakes to Avoid
❌ Greens are gritty and sandy
Causes: Didn't wash thoroughly enough
Solution: Always wash three times, lifting greens out of water. Check the third wash water - should be clear.
❌ Greens are still bitter
Causes: Stems left on, or greens are old/large
Solution: Remove all thick stems. Blanch for 3 minutes if very bitter. Add pinch of sugar to cooking liquid.
❌ Greens are tough and chewy
Causes: Not cooked long enough, or heat too high
Solution: Simmer at least 45 minutes. Check for tenderness. Add more liquid if needed and cook longer.
Troubleshooting & FAQ
See It In Action
Try these recipes that use this technique: