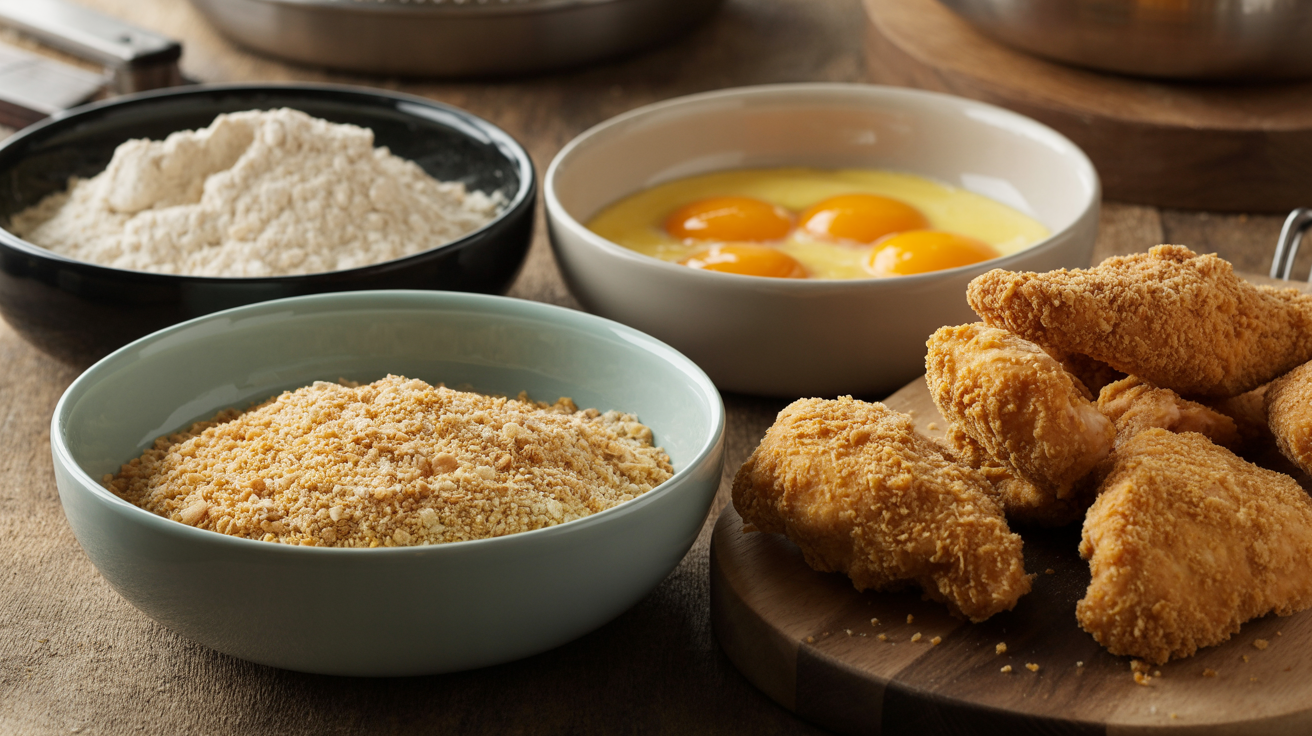
The Three-Bowl Chicken Dredging System
SouthernComfy Editorial Team
Cooking guides
What You'll Learn
- Why three bowls create the best coating
- Proper hand technique to avoid "club hand"
- How to make coating stick
- Setting up an efficient workspace
Why This Matters
The three-bowl system is used in every restaurant kitchen because it creates an even, adherent coating that stays on during frying. This technique works for chicken, pork chops, fish, and vegetables.
Equipment Needed
- Three shallow bowls
- Wire rack
- Tongs or fork
- Paper towels
Step-by-Step Tutorial
Set Up Your Station
Arrange three shallow bowls in a line: (1) seasoned flour, (2) buttermilk and egg mixture, (3) seasoned flour again. Place wire rack at end for coated pieces.
Chef's Tip
Chef's Tip
Bowl 1: First Flour Coating
Mix 2 cups flour with 1 tablespoon paprika, 2 teaspoons garlic powder, 2 teaspoons black pepper, 1 teaspoon cayenne, and 1 tablespoon salt. This base layer helps wet mixture stick.
Chef's Tip
Chef's Tip
Bowl 2: Wet Mixture
Whisk together 1 cup buttermilk and 2 eggs. The buttermilk tenderizes chicken while eggs help coating adhere. This creates the "glue" layer.
Chef's Tip
Chef's Tip
Bowl 3: Final Flour Coating
Prepare second flour mixture identical to first bowl. Keep this bowl clean - don't touch it with wet hands. This final coating is what creates the crispy exterior.
Chef's Tip
Chef's Tip
The Dredging Process
Use your left hand ("dry hand") for flour, right hand ("wet hand") for buttermilk. Coat each piece: flour → buttermilk → flour. Press final flour coating gently to adhere.
Chef's Tip
Chef's Tip
Chef's Tip
Chef's Tip
Common Mistake
Rest Before Frying
Place coated pieces on wire rack for 10-30 minutes. This resting time lets coating adhere and helps create extra-crispy crust.
Chef's Tip
Chef's Tip
Chef's Tip
Pro Tips
Chef's Tip
Chef's Tip
Chef's Tip
Chef's Tip
Common Mistakes to Avoid
❌ Coating falls off during frying
Causes: Skipped first flour coating, didn't let coating rest, or oil temperature too low
Solution: Never skip the first flour layer. Rest coated chicken 10+ minutes. Make sure oil is 350°F before frying.
❌ Both hands covered in batter ("club hand")
Causes: Using both hands in wet mixture
Solution: Designate one dry hand and one wet hand. Never let them switch roles. Use tongs if needed.
❌ Coating is gummy, not crispy
Causes: Too much wet mixture, or coating not pressed on
Solution: Let excess buttermilk drip off. Press final flour coating firmly. Let rest before frying.
Troubleshooting & FAQ
See It In Action
Try these recipes that use this technique: