Caramelizing Onions for Southern Dishes
SouthernComfy Editorial Team
Cooking guides
What You'll Learn
- Why low heat and patience matter
- How to prevent burning
- The stages of caramelization
- How to deglaze for maximum flavor
Why This Matters
Caramelized onions transform simple dishes into something special. They add sweetness and depth to burgers, steaks, gravies, and casseroles. This technique is simple but requires patience - you can't rush it.
Equipment Needed
- Large skillet or sauté pan
- Wooden spoon
- Sharp knife
- Cutting board
Step-by-Step Tutorial
Slice Onions Consistently
Cut 3-4 large onions in half through root end, peel, then slice into 1/4-inch half-moons. Consistent thickness ensures even cooking. You'll need a large pan - onions reduce to 1/4 their original volume.
Chef's Tip
Chef's Tip
Chef's Tip
Start with Fat and Medium Heat
Add 2-3 tablespoons butter or oil to large pan over medium heat. Add all onions at once with 1/2 teaspoon salt. Stir to coat. Salt draws out moisture and speeds up cooking.
Chef's Tip
Chef's Tip
Chef's Tip
Cook 10 Minutes, Stirring Occasionally
Let onions cook undisturbed for 5 minutes to release moisture. Then stir every few minutes. They'll soften and become translucent. This is the first stage.
Chef's Tip
Chef's Tip
Reduce Heat and Continue 20-30 Minutes
Lower heat to medium-low. Continue cooking, stirring every 5 minutes. Onions will turn golden, then light brown. Brown bits (fond) will form on pan bottom - this is flavor gold.
Chef's Tip
Chef's Tip
Chef's Tip
Common Mistake
Deglaze the Pan
When onions are deep golden brown and sweet, add 1/4 cup wine, stock, or water. Scrape all brown bits from bottom - this adds tremendous flavor. Let liquid cook off.
Chef's Tip
Chef's Tip
Chef's Tip
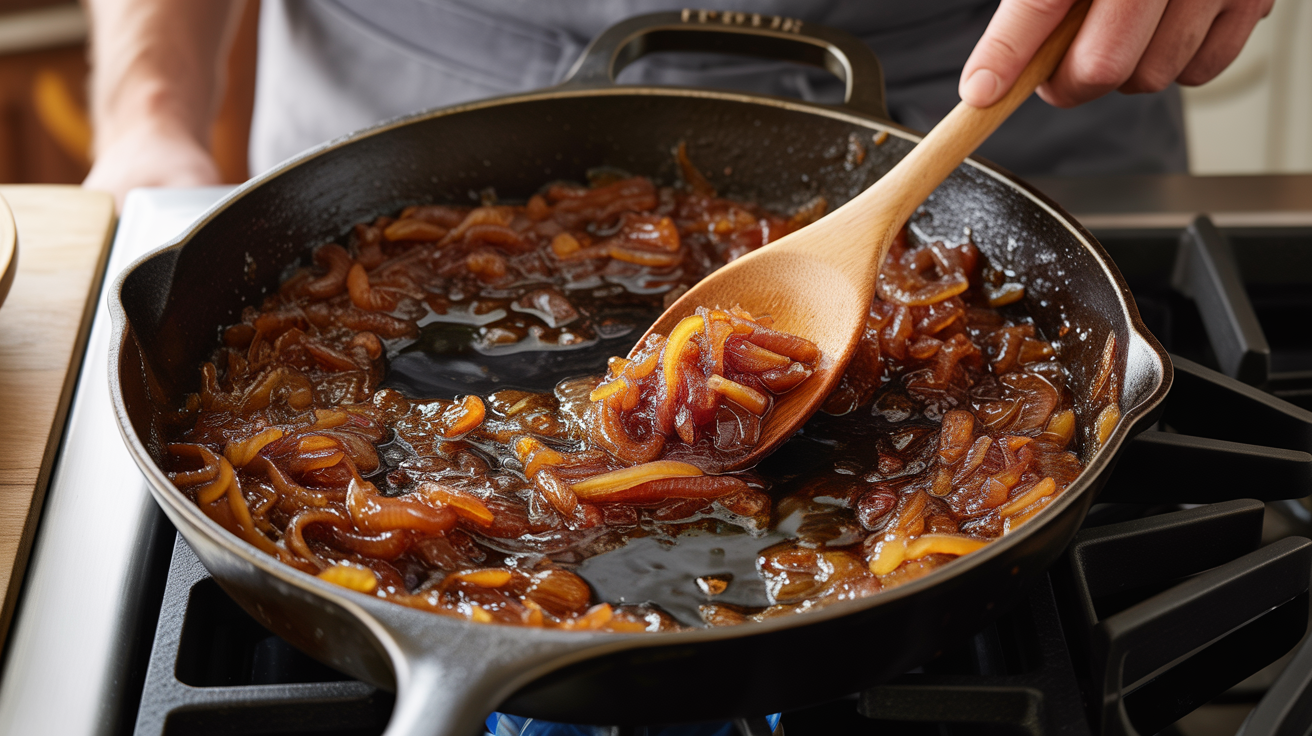
Final Stage to Deep Brown
Continue cooking 5-10 more minutes until onions are deep mahogany brown, jammy, and sweet. Total time: 35-45 minutes. They should be soft enough to spread.
Chef's Tip
Chef's Tip
Chef's Tip
Pro Tips
Chef's Tip
Chef's Tip
Chef's Tip
Chef's Tip
Common Mistakes to Avoid
❌ Onions are burnt and bitter
Causes: Heat too high, or not stirred enough
Solution: Use medium-low heat. Stir every 5 minutes. Add splash of water if sticking. Be patient - can't rush caramelization.
❌ Onions are still crunchy after 20 minutes
Causes: Slices too thick, or heat too low
Solution: Slice thinner (1/4 inch). Increase heat slightly to medium. Continue cooking - they need more time.
❌ Onions are steamed and gray, not browned
Causes: Pan too crowded, or heat too low
Solution: Use larger pan so onions have room. Increase heat to medium. Let onions sit undisturbed longer between stirs.
Troubleshooting & FAQ
See It In Action
Try these recipes that use this technique: